Home Maintenance Help: Exterior Caulking
Caulking – it might not be the most glamorous home maintenance task, but it's a crucial one! That thin line of sealant acts as a guard, keeping out water, air leaks, and even unwanted pests. But like anything, caulking needs a little TLC to stay effective.
Caulking – it might not be the most glamorous home maintenance task, but it's a crucial one! That thin line of sealant acts as a guard, keeping out water, air leaks, and even unwanted pests. But like anything, the caulking needs a little TLC to stay effective.
Why Caulking Maintenance Matters
Over time, caulking can crack, shrink, or crumble due to weather, movement of the building materials, or simply aging. This can lead to a number of problems, including:
Water infiltration: Leaks around windows, doors, and foundations can cause serious damage to your home's structure and promote mold growth.
Increased energy bills: Drafty gaps around windows and doors mean your HVAC system has to work harder to maintain comfortable temperatures. After all, you aren't meant to heat the world.
Pest problems: Small openings created by failing caulking can be an invitation for unwanted insects and critters. Ants love to crawl through caulking gaps around windows.
Inspect and Re-Caulk Regularly
The good news is that maintaining your caulking is a relatively simple and inexpensive process. Here's what you need to do:
Spring Cleaning for Seals: Make it a habit to inspect your caulking at least once a year, ideally in the spring before the rainy season. Pay close attention to areas around windows, doors, siding joints, foundations, chimneys, and plumbing penetrations.
The Crackdown: Look for signs of wear and tear, such as cracks, gaps, or separation from the surrounding surfaces. If you spot any trouble zones, it's time to re-caulk.
Choosing the Caulking Champion: Different types of caulking are suited for various applications. Opt for silicone caulk for kitchens, bathrooms, and other areas exposed to moisture. Polyurethane caulk is a good choice for exterior joints that experience expansion and contraction.
Caulking Like a Pro
For a successful re-caulking project, follow these steps:
Remove the Old Guard: Use a utility knife or caulk remover tool to remove the old, failing caulk. Be sure to clean the surface thoroughly with rubbing alcohol or a damp cloth to ensure good adhesion for the new caulk.
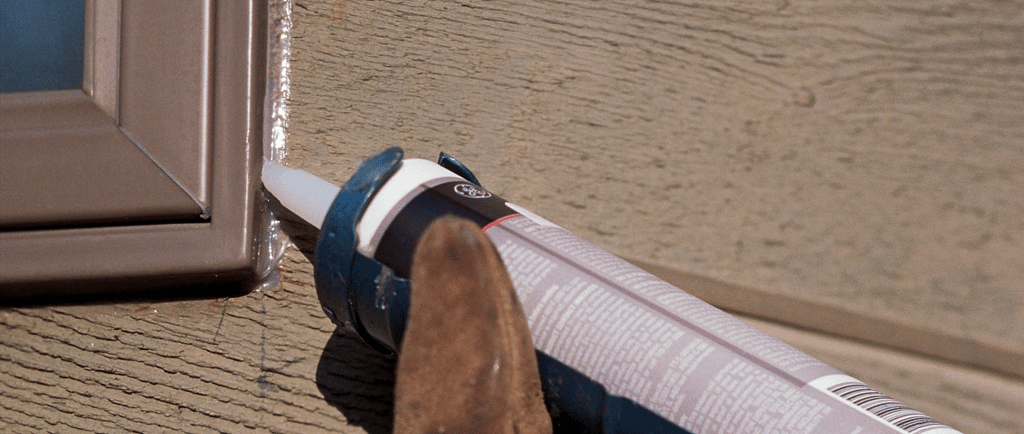
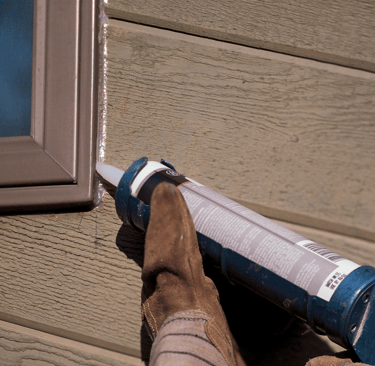
Load Up Your Caulking Gun: Cut the caulking tube nozzle at a 45-degree angle with a hole slightly smaller than the desired bead size.
Steady Does It: Apply the caulk in a smooth, continuous bead, pressing firmly into the joint. Use a wet finger to smooth out the bead and create a clean finish.
The Waiting Game: Allow the caulk to cure completely according to the manufacturer's instructions before exposing it to water or extreme temperatures.
Caulking maintenance might not be flashy, but the benefits are undeniable. By keeping your home's seals in top shape, you'll save money, prevent damage, and create a more comfortable and secure living environment.
✆ (431) 996-4663
Contact Us
Residential
Commercial
✉ Contact@justcalljoe.ca